I can't sleep right now because I had some delicious yet pretty caffeinated milk tea boba this late afternoon/evening, so I decided I will go ahead and make the last post for the 12 Day Bread Challenge :). For those of you who have been reading my blog post and following me on Facebook and Instagram, thanks for coming along with my journey of the past 12 breads! It's actually been a very exciting journey, yet tiring at the same time! I actually didn't make my 12 breads in 12 days. It took me a total of 15 days to complete all 12 recipes. I skipped a day or two, and some recipes, such as brioche bread and croissants took about two days to complete, due to an overnight resting period for the bread. Nevertheless, I am done, and I am glad that I took this challenge on!
What did I really gain from this challenge? Well, a few things actually. First of all, I got to try and successfully make (for the most part) so many recipes I'd heard about and eaten a lot of, but never tried for myself. I'd never tried making Japanese red bean bread, cream pan, or melon pan, focaccia, ciabatta, bagels, or pretzels before. Now I know how to make them and which successful recipes to use in the future. Also, I realized that I actually really love Japanese breads and decided to teach a cooking class based on Japanese dessert breads in the near future (so that's another cooking class I can teach!). I actually taught a small class of 6 awesome people this past weekend, and they all loved the Japanese cream bread and sweet red bean bread, so I feel excited about teaching more people about it.
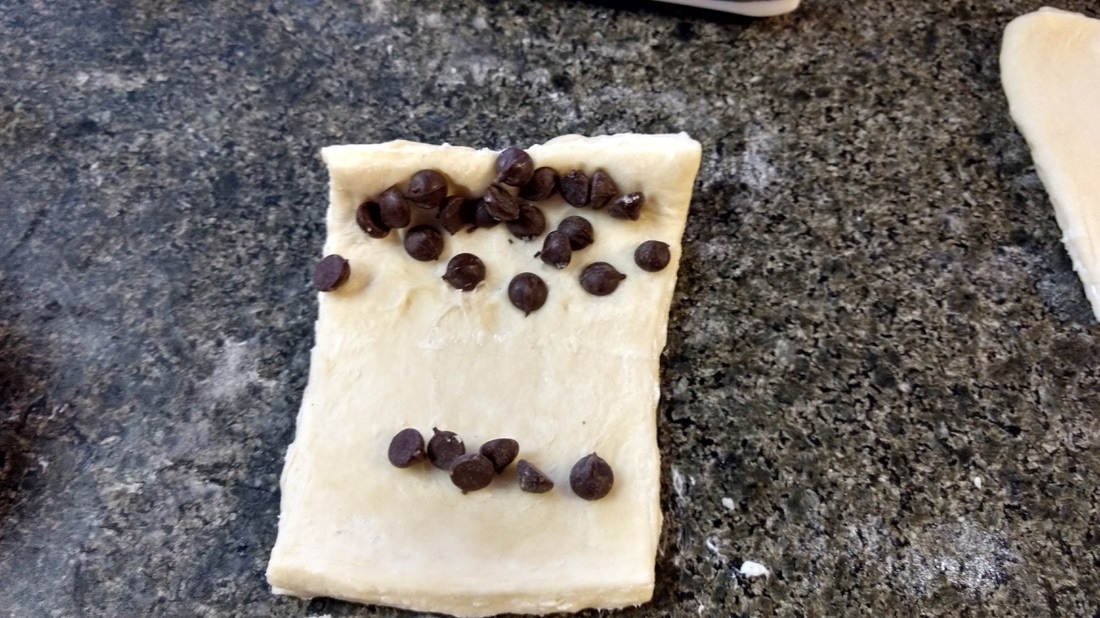
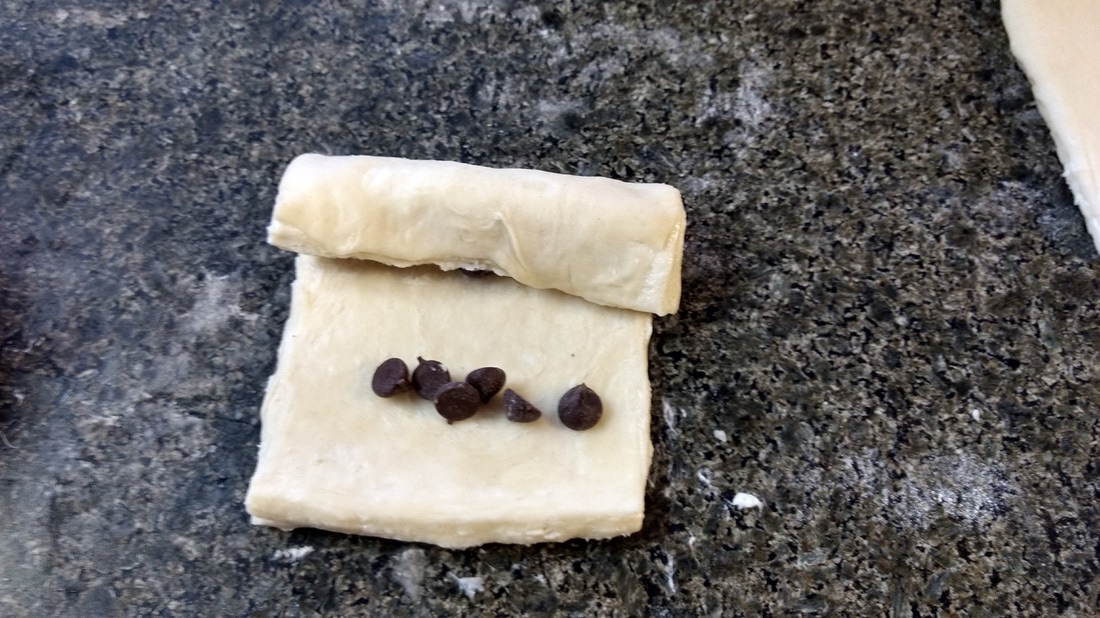
Secondly, I gained redemption from my failed croissants I made earlier last month, and I learned how to make three of my favorite types of croissants: Pain au chocolat, pain au raisins, and almond croissants! (As well as regular croissants). Thanks to a friend who came over to help, and an awesome craftsy croissant-making class, I was able to succeed! Pictured below are my first failed batch. I blame it on a faulty recipe as well as my rush to proof the croissants too fast, in too hot of heat. Third, although bread making at times seemed like a burden, I really did look forward to making a new type of bread almost every day. I felt that it gave me something to do for the day. I also enjoyed watching my friends and family enjoy my creations. I felt proud that I could make something new, successfully. Fourth, I learned about what to look for and the characteristics of a good bread dough.
A few rules I picked up:
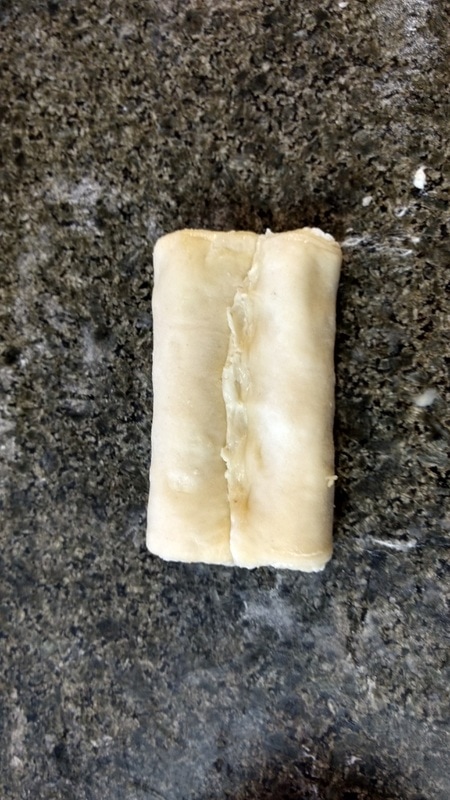
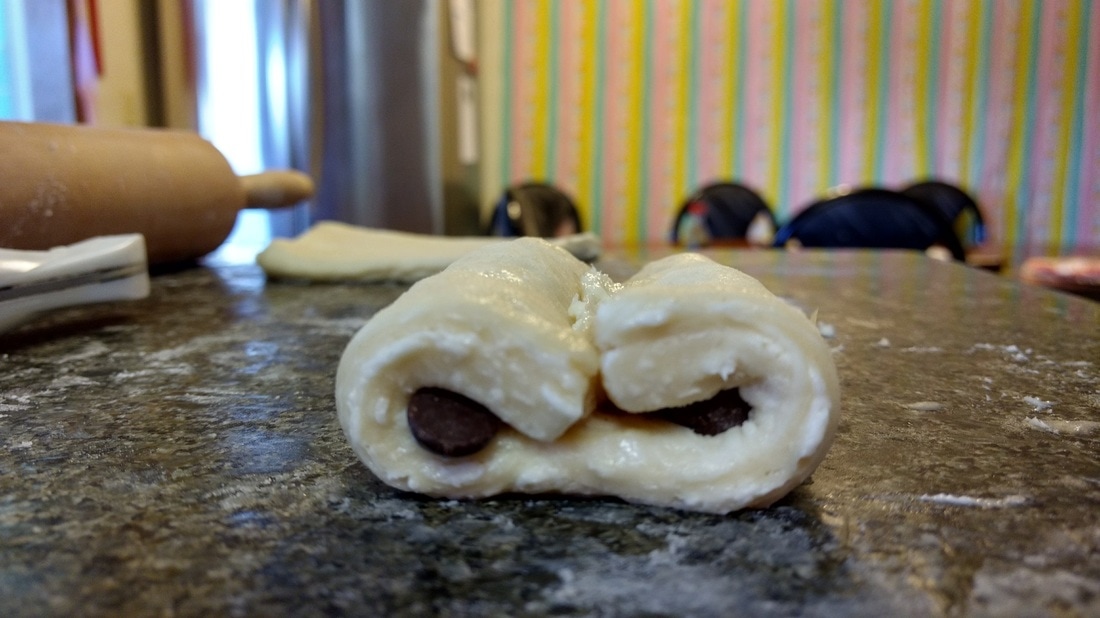
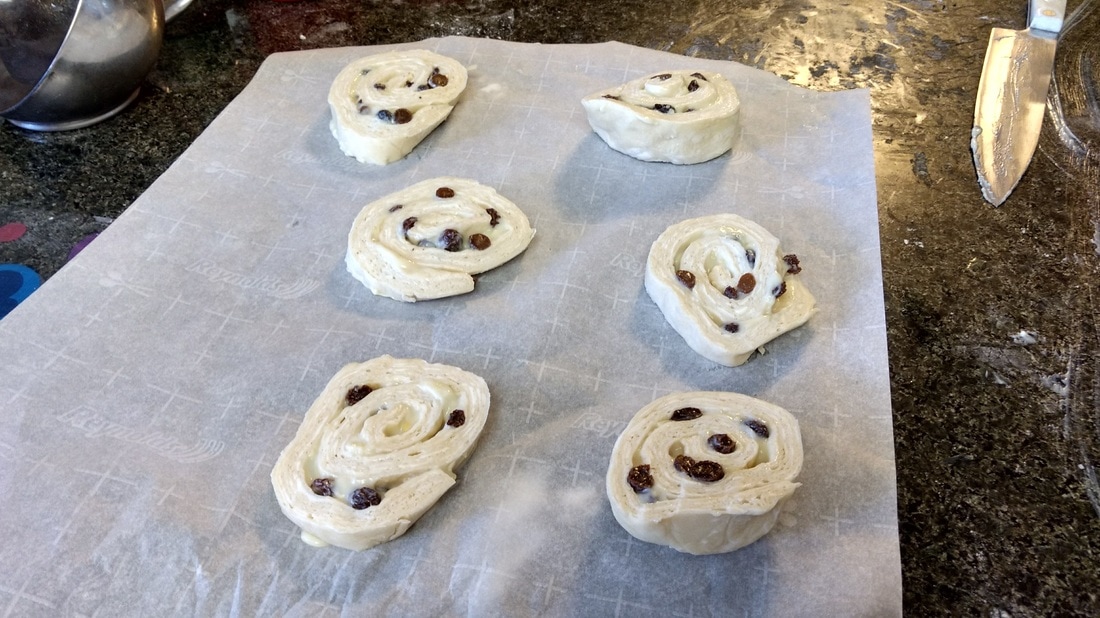
The croissant process consisted of the following steps (some pictures of the process are below ):
Once again, thank you for joining me on this epic journey of bread making. I hope you try things that you've been wanting to try for a while, as it's a very fun learning experience!
From my kitchen to yours, Kaori
4 Comments
I asked for Brioche puns and one of my genius friends thought of the best one. Celebriocheon. Who thinks of that? She does, cause she's cool, and she's good with words ;). And I think she will be reading this post so that makes me happy too. DUDE. Brioche takes SO LONG to make. I think I had a total of 3-4 different rising periods, one of them requiring an overnight rise. But it was an interesting process watching this dough come together. And it was an honor to use Julia Child's recipe, featured on food.com. I love Julia Child because she showed us that anyone can cook, if they love it and are willing to practice and learn. She was 40 when she started cooking lessons at the Cordon Bleu in France, and it wasn't until much later that her cookbook got published and she started teaching lessons on the TV. She also made mistakes on TV, without fretting. She's my kind of gal.
Brioche is super buttery. After slapping the dough around in the kitchenaid for 15 minutes (as per Julia's instructions), I sliced super thinly a whole stick of butter, and added that gradually to the dough. It looked like it was falling apart, but the recipe warned about that, and I just persevered with using the kitchenaid and letting that dough hook take it like a boss.
After this process, I let the dough rise for two hours, punched it down and kneaded it a little bit, and then let it rise overnight again. I didn't know what to expect, but somehow intuitively by the looks of the dough, I knew I was on the right track, and that this would eventually lead to something good.
The results were super pretty and yummy. I ate a slice with some jam, mom took some to work, a family friend grabbed half the loaf and took it, and then this morning I made french toast with the last of it, which I topped with fresh strawberries and whipped cream. I believe it was all worth it, because through it all it was a learning process, and now I know how to make brioche bread! I'm not sure if I'll be making it again anytime soon, but I know I could if I wanted to! And that's what counts :). Feel free to drool at the photos below. Peace fam! -Kaori
Well, we all have those moments don't we? Those moments where we rush things because we don't feel like doing everything painstakingly step by step. Well that was me when I was making pita bread. It was a combination of not feeling great about my falafel turning out kind of mushy and not substantial, plus rushing to make the falafel, pita bread, yogurt cucumber sauce, and prepping all of the diced tomatoes and other side dishes. Alan came to the rescue by helping me make and shape the falafel. If you haven't met my husband before, he is kind of opposite to me, haha. I am pretty impatient, but he is very, very patient. He works on these long-term, year-long animation video projects which can be super tedious....I would probably have some kind of break down if I attempted to do what he does. But that's ok, because we both have something we love to do, that comes naturally to us.
Oh, by the way I used Tyler Florence's pita bread recipe from Food Network. So long story short, I rushed my pitas, but we managed to salvage our falafels with lots of bread crumbs...ehehe I felt kind of sick watching how much bread crumbs I was stuffing into those falafels (carb guilt face). We used my moms pizza stone to cook the pita on, but I didn't let the pizza stone get hot enough in the oven before putting the pita dough on. The pita dough is supposed to puff up A LOT, leaving a pocket of space between the top and bottom of the bread. One of my doughs did that, but the rest did not. They became, instead, platforms of naan upon which to lay our falafel, lettuce, tomato, and yogurt sauce, or to eat on the side. It worked out just fine, my parents both loved it, and at that point I kind of just didn't care anymore. Aha! I guess I don't have much passion for the pita right now. Until next time, pita baby.
Best wishes from my kitchen to yours, Kaori
We've reached the halfway mark, folks! And I've had to say that though it can feel burdensome at times, having something new to bake each day does really give me something to look forward to that day :). It's also special because many of these breads I'm baking for the very first time! So it's a fun and delicious learning experience. I've gotten into a groove with baking bread each day that's streamlined my process. I make the dough at night, and let it rise overnight in the fridge, in an oiled bowl covered with plastic wrap. This works because the rising time is super slowed down anyway since the fridge is cold. Doing this allows me to wake up, shape the dough how I want it, give it one more 30 minute quick rise, bake, and then eat! I don't have to do all of the waiting around. So if you're like me and like to save time, let your dough rise overnight!
This recipe is one that I got once again from food.com. I really have a lot of love and respect for food.com because it reliably has produced great results. The bagels turned out super yummy! They were very soft and chewy, unlike bagels I usually get from a cafe, but they also had this crispy crunchy bottom that was delicious. I split mine in half and ate it with some raspberry jam and butter, with my coffee. It was a nice way to start the morning.
However, can you see how there appear to be tears on the tops of the bagels? I think I may have over-kneaded or worked the dough too hard when I took it out of the fridge in the morning, in turn ripping some of the gluten strands that had developed in the dough. Also, I should've let the dough warm up a bit before working it. Working dough that is cold can make it rip. I will take note to be more careful about this in the future.
Before baking these bagels I had to boil them for about a minute in simmering water. Interesting, huh? This intrigued me when I first heard about, so I'm glad I finally got to give it a try! I think it smooths out the surface of the dough and gives it an extra chewiness.
Soon, I will be posting about the delicious sister to the bagel...the pretzel! I made pretzels today and I can't wait to share about them with you! Bon Apetit!
ah, the pretzel. Sister to the bagel. It's chewiness and softness pervading our mouths as we are hit with a sudden spike of salt...to fade away with a another sweet bite of dough. After one of my instagram friends commented on how similar the bagel and pretzel are, I knew I had to give pretzels a try. Also, my mom was prodding me in that direction, with her pleas for "big, salty pretzels" like the ones she used to eat in New York. So I gave in.
I got this recipe from another one of my favorite food websites, allrecipes.com. The recipe is called, "Buttery Soft Pretzels", and that they were. The process for making pretzels is a very slight difference from making bagels. Also- this recipe only requires one rising instead of two! Amen! After allowing the bread dough to rise, I rolled and shaped the pretzels after looking up an article on how to shape a pretzel by Kitchn. It was fun, kind of like watching those ladies at the mall at the Auntie Annie's stand flip and slap the dough on the large white counters. I found the dough to be nice and pliable, except I kept rolling them out because I didn't want my pretzels to be too small and stubby. I wanted the holes to show, so I knew I had to roll them out pretty long in order to achieve that. Before baking, I dipped them in hot water that had baking soda dissolved into it, and then put them on the baking tray. I didn't have to boil them for a minute like I did with the bagels. Interesting...I wonder what effect the baking soda has on the flavor and texture of pretzels...maybe it was more to do with flavor. If you have any ideas, let me know!
I think I might've overdone it on the kosher salt, a little bit. Some of our family friends loved it as it was, but my mom and I agreed that it was just a tad bit too salty. The recipe calls for 1/4 cup of kosher salt sprinkled on top, which is kind of crazy, so I'm glad I didn't follow the recipe for that. I just gave them a generous sprinkling of kosher salt. Kosher salt, btw is great! It's more salty and flavorful than regular iodine salt, and is also better for pickling. Kosher salt is now my go-to salt for cooking. So- this whole process just took about 2 hours, so no excuses people! If you want to make pretzels, set aside some time to do so. You certainly won't regret it ;
Best wishes from my kitchen to yours, Kaori
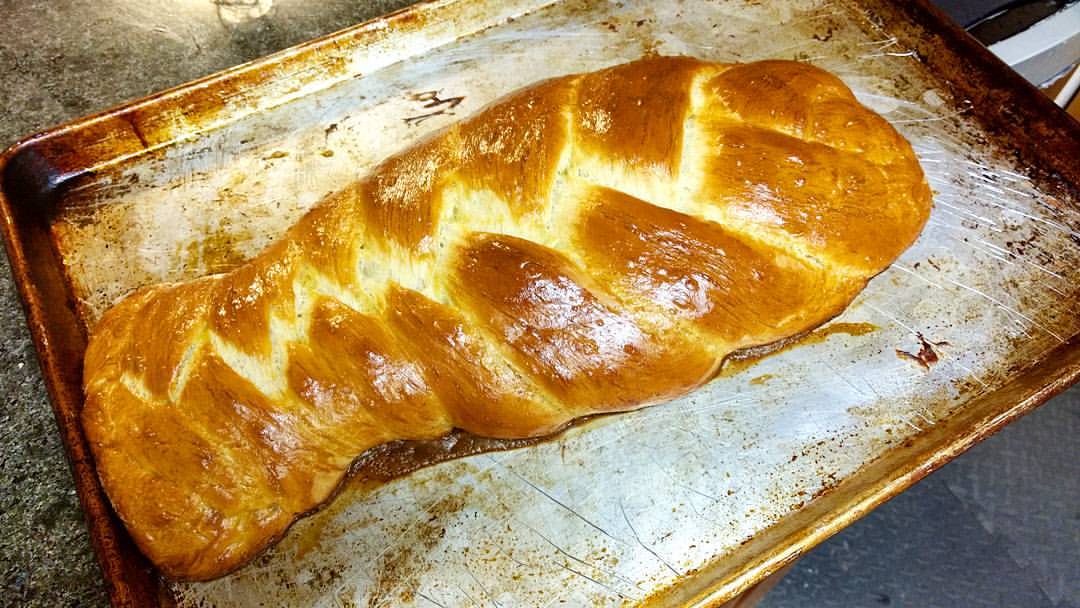
I've always wanted to make Challah bread. The eggy, sweet, soft dough I've seen photos of and the endless bread braid tutorials I've watched have prepared me for this moment (well, not really, I still had to look up an easy recipe and then watch a bread braid tutorial online, hehe). I found this challah recipe to be easy and actually very delicious. I found a recipe for "No Knead Challah Bread" on food.com, and knew that I had already found a winner based on the cooking time and the many positive reviews. I was excited to find a recipe that was easy and also tasted delicious (those are the best kinds of recipes, don't you think?).
Here's a video of me starting the kneading process with this challah bread. It was great cause I just threw all of the ingredients into a kitchenaid with a dough hook attachment, and then let her go! (I call my kitchenaid old bessy cause she's old and she works hard, like a good cow would).
Mesmerizing isn't it? After I kneaded the dough for about five minutes until smooth, I oiled a new bowl and let it rise for one hour in my warmed oven. Then, I divided it into five balls, which I rolled into five logs, which I then braided, using this super useful article with photos from instructables.com. I decided to do the five strand method. I also decided early on to half the recipe on food.com because lately we've been having a bit too much bread around here for all of us to eat...wish you could join us and eat up all that extra bread ;). So I'm been halving most of the recipes for this reason. Still worked though! After braiding, I let the challah bread rise for about 30 minutes in the warm oven, egg washed it and then baked at 350 degrees for 25 minutes or so. Voila! Lovely, soft, pull-apart, slightly sweet challah bread. It went deliciously with some pour over coffee from Trader Joe's, no butter or jam needed...or shall I say..."kneaded" ;). I hope you can enoy this recipe and process as much as I did!
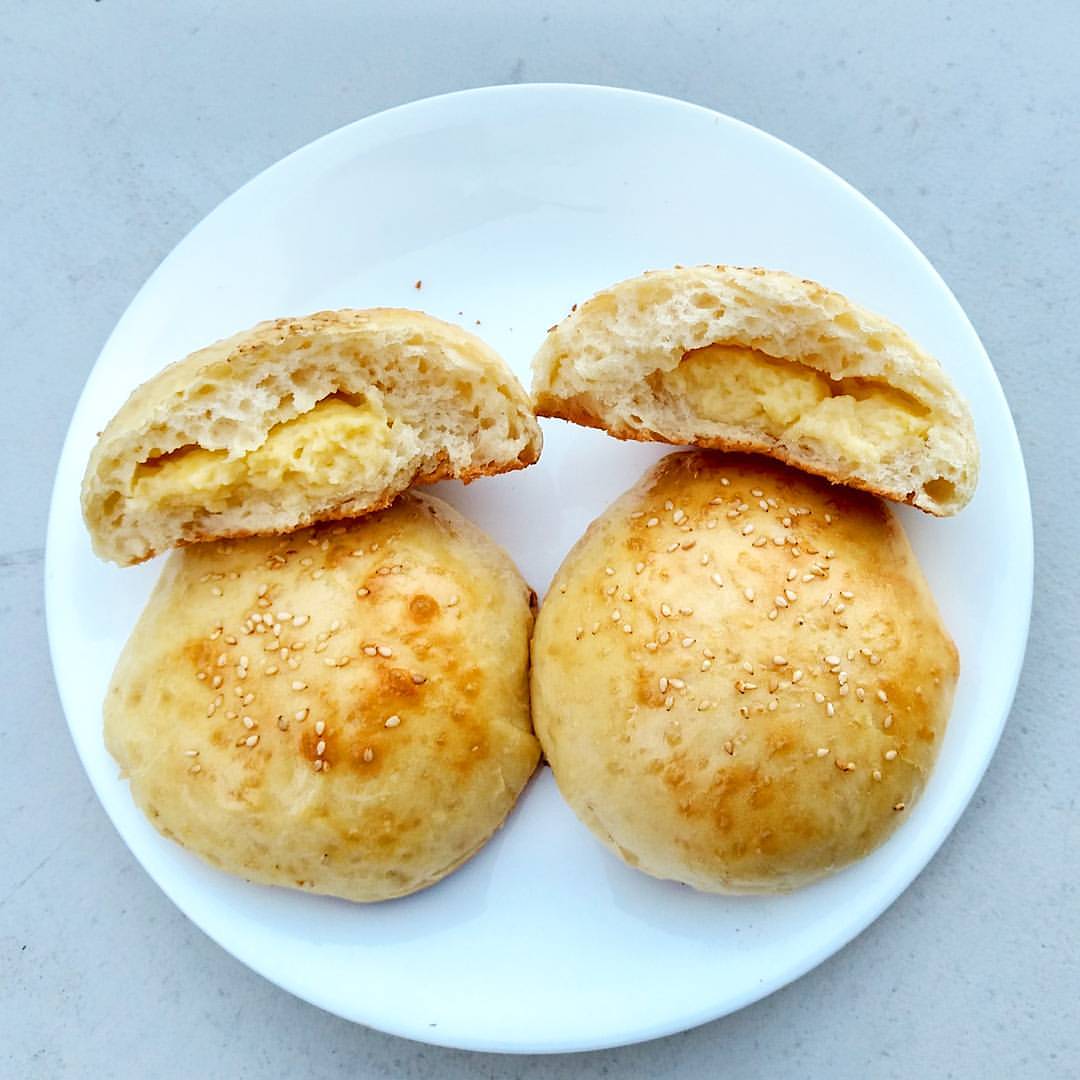
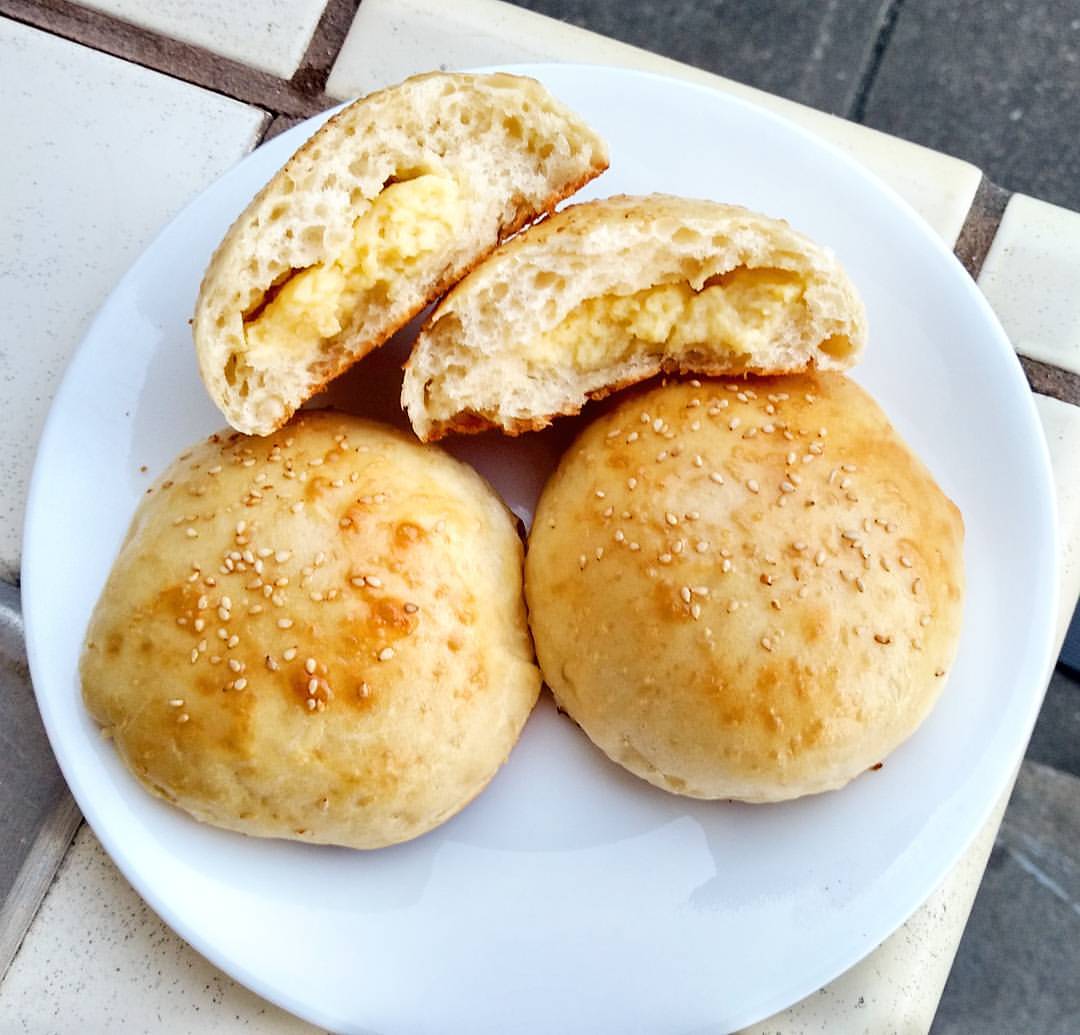
Soft and super pillow-y with a creamy custard center. This is how I describe the delicious cream pan buns I made today. I actually switched up the bread recipe for a slightly different one, the result being an even softer and delectable bread, like the cream pans you would buy at Mitsuwa or another Japanese supermarket. Who do I have to thank for this recipe? The writer for the350degreeoven.com, Mika! :) Her recipe is flawless, and produced the exact thing I wanted today, cream pan! So if you would like to make this yourself, head on over to her site and check it out! I would use the bread dough recipe from the350degreeoven blog and then use the cookie topping recipe from justonecookbook.com, another Japanese cooking blog that I use often and have come to adore. The secret in this dough being so much more fluffier and soft after baking, is something called the Tangzhong method. It sounds fancy but it's super simple. All you do is make a simple roux by cooking a little flour in some water, and then add that mixture to the bread dough, along with the yeast, egg, flour, milk, etc...I don't know how it works but it establishes a dough that is soft in consistency, like the buns you would buy at a Japanese market or bakery. I'm never going back, I think I've found the bun dough that I'm going to stick with for a while! I also found this dough to be less liquidy, it rose better, and even produced more buns than the previous dough did. Victory~ Always learning :) That's it for today, folks! Stay tuned for Day 5 of 12 Breads in 12 Days!
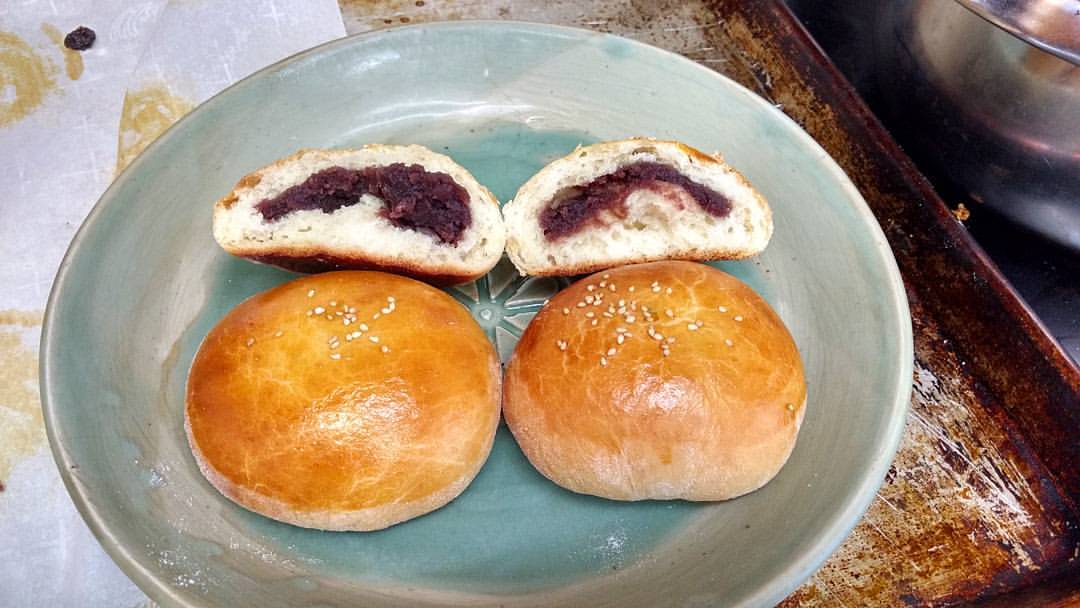
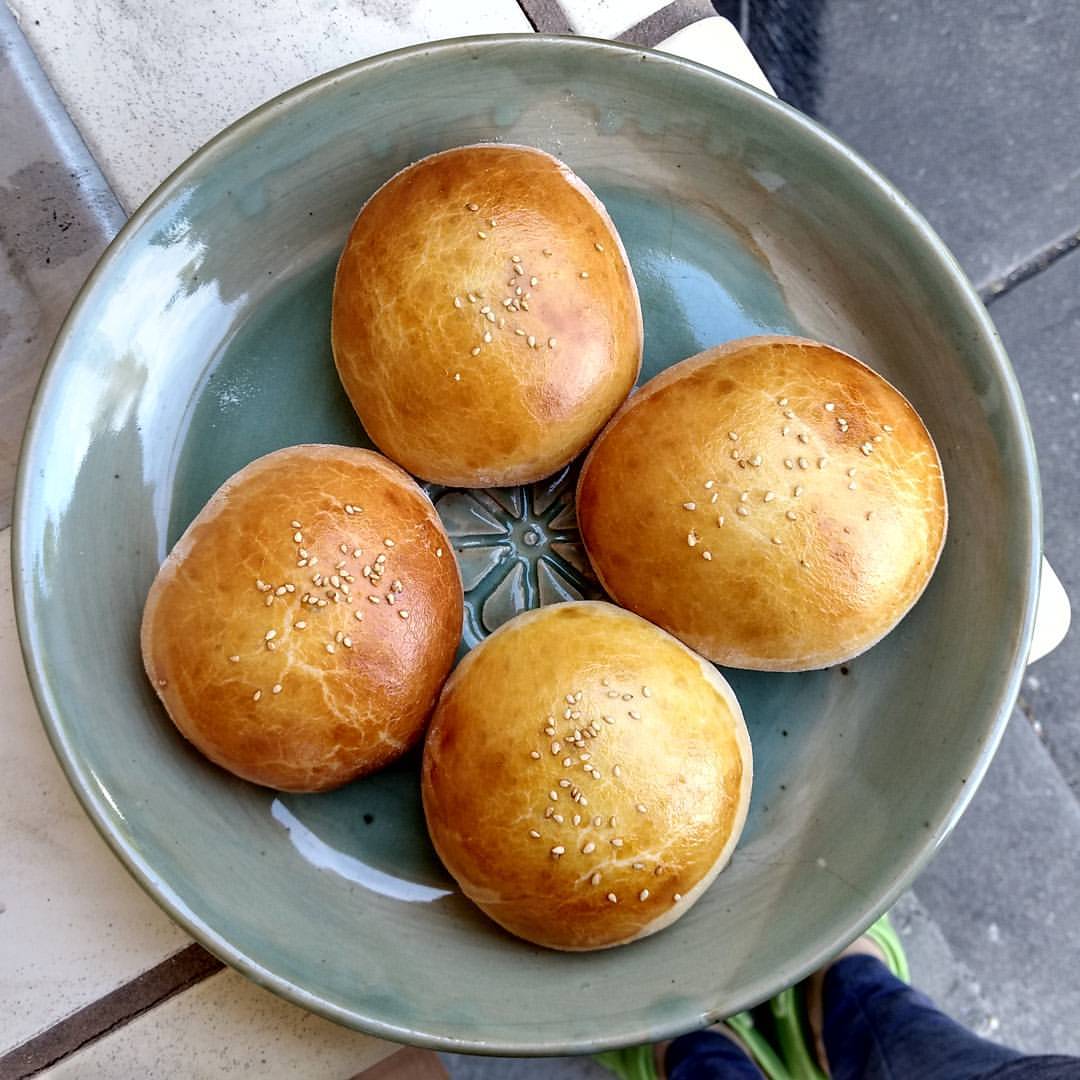
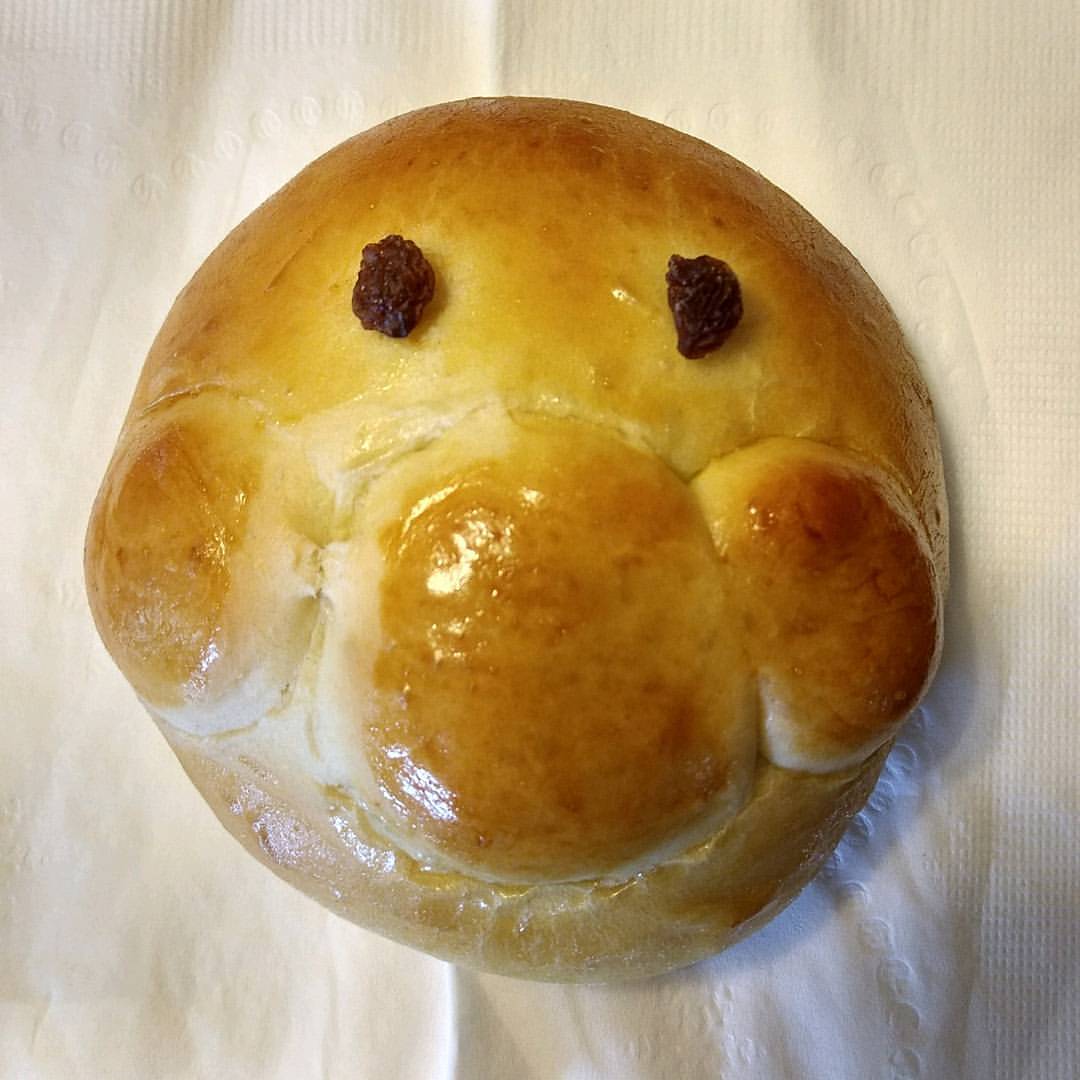
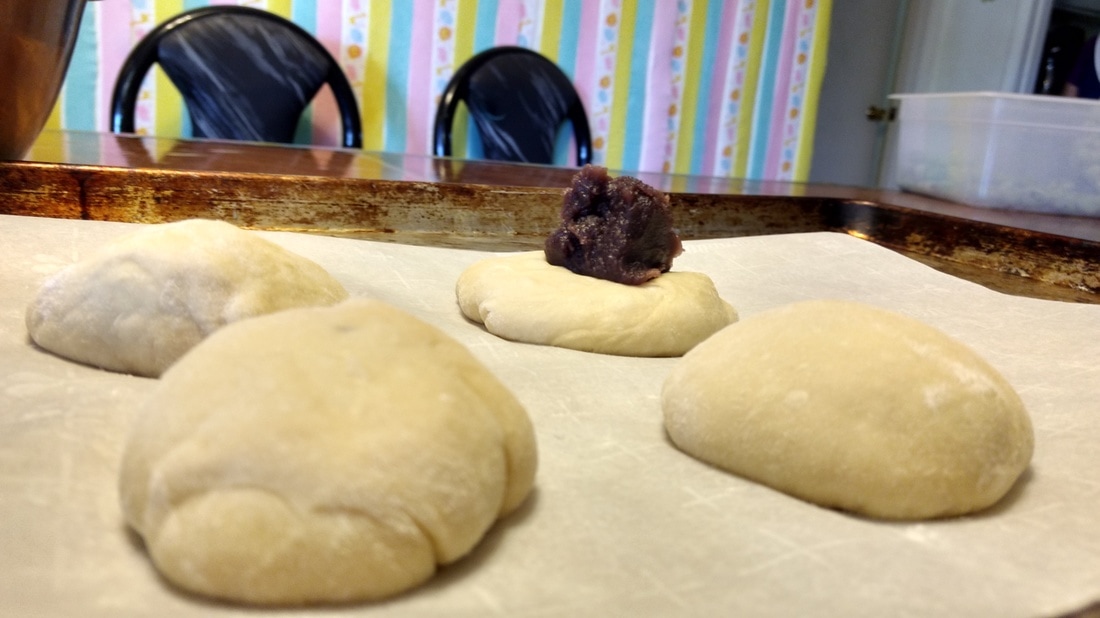
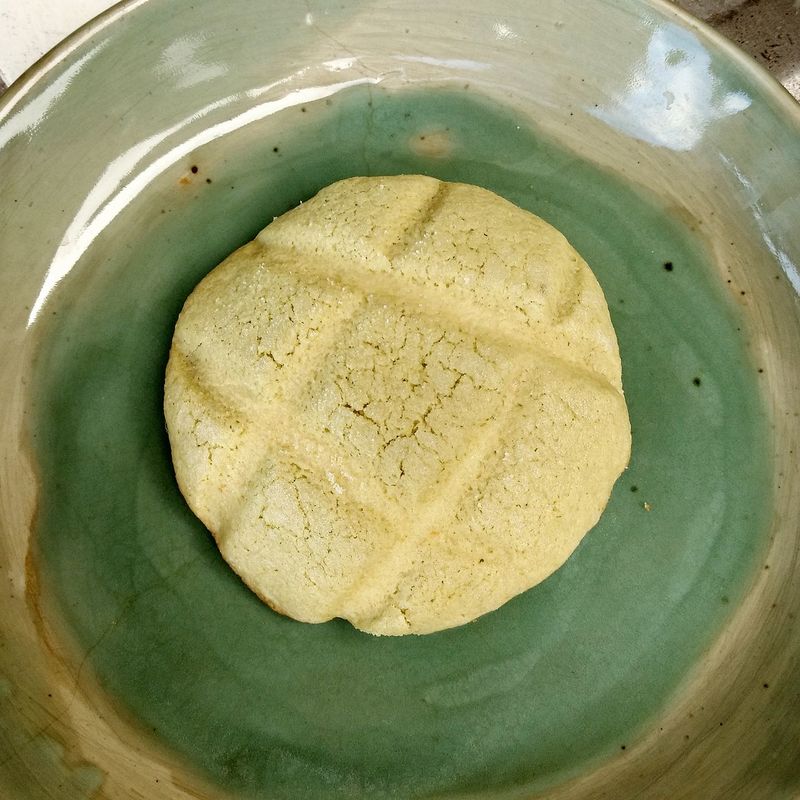
Best, Kaori So....I didn't stick to the original 12 breads list at all, haha. After failing the focaccia recipe from Sarah Black's book, I got a little jaded about following her instructions and decided to follow trustable online recipes instead, with great reviews and perhaps a video for reference. Also, I started to get bored of making bread that kind of tastes similar to each other, i.e. focaccia and ciabatta. Instead, I decided to go back to my heritage and try something I've always loved, Japanese bakery buns! Melon pan and an pan have always held a fond part of my heart. I remember eating them from a young age, always a treat when my mom would come back from the Japanese store with sweet, soft buns filled with "anko" red bean paste or with a cream custard. Melon pan was also a favorite of mine growing up, so I decided to make both! I got the recipe for these wonderfully delicious red bean buns from my friend Seong-oea who took a class in Indiana from a Japanese lady named Tatsuko san :). I'm very grateful that she has also decided to share this recipe with you guys, too! Thanks Seong-oea!! The recipe will be posted below, with instructions. Overall, I really enjoyed making these buns! The dough mixed quickly and easily in my kitchenaid but could easily be also kneaded by hand. I rested the dough for 50 minutes in the warm sunshine, formed them into balls and filled them with red bean paste, and let them rest again for 30 minutes, and then baked them for 15 minutes at 350 degrees. They were SO tasty. By the way, Melon pan is basically a sugar cookie baked on top of a bread bun. Interesting huh? :) 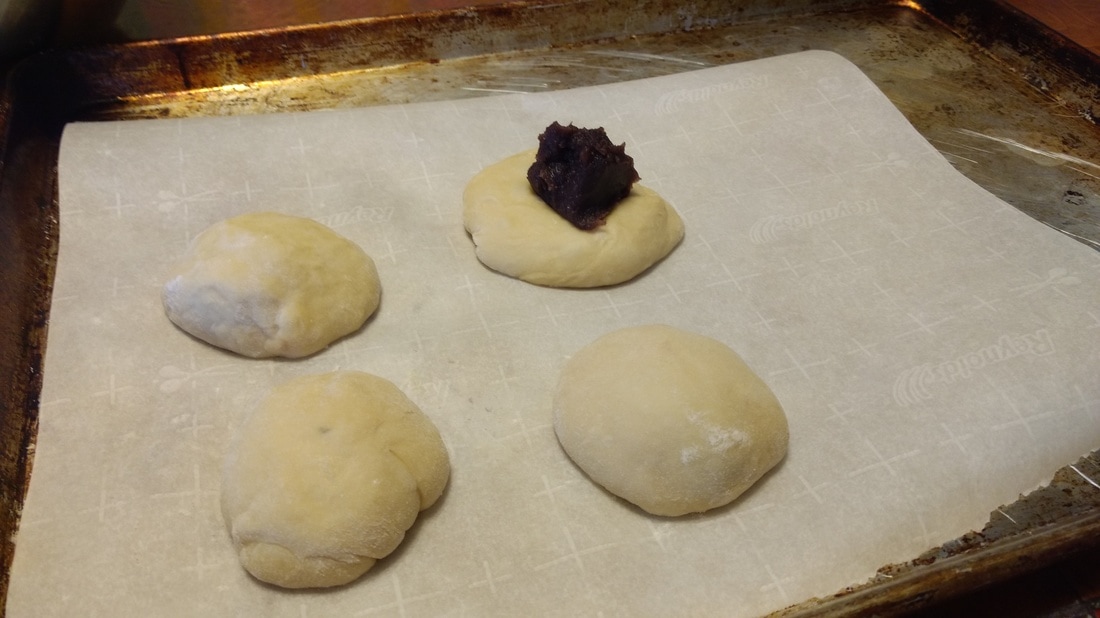 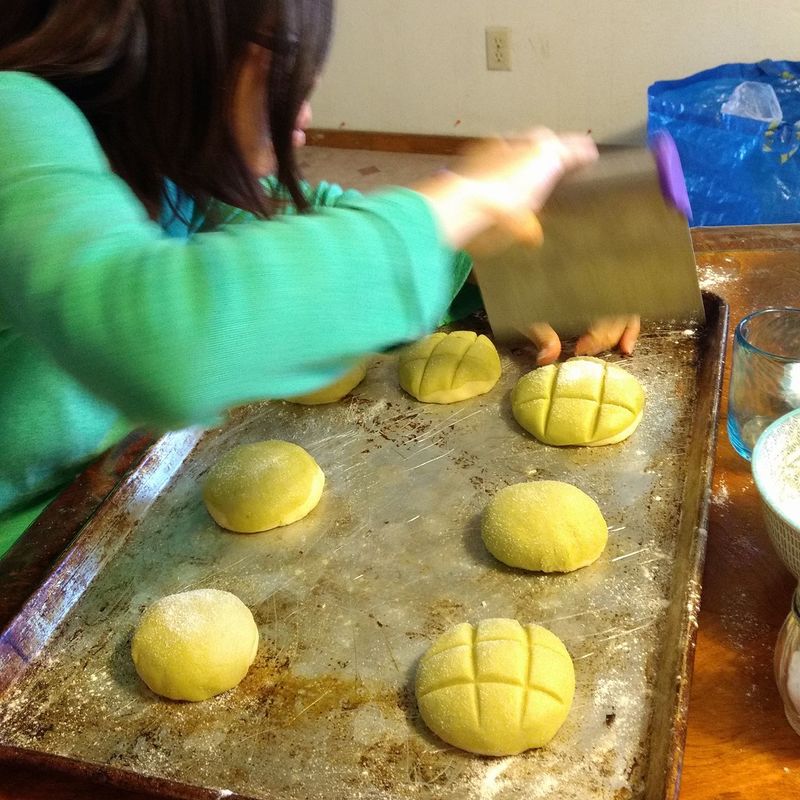 Criss crossing our matcha melon pans! Almost time to bake! Criss crossing our matcha melon pans! Almost time to bake! Japanese Sweet Red Bean Bun Recipe (makes 7-8 buns)
(I adapted the recipe to use just all purpose flour, but I will post the original one here) Ingredients:
(I just used 2.5 cups all purpose flour because I was too lazy to go shopping for bread flour...haha) Instructions:
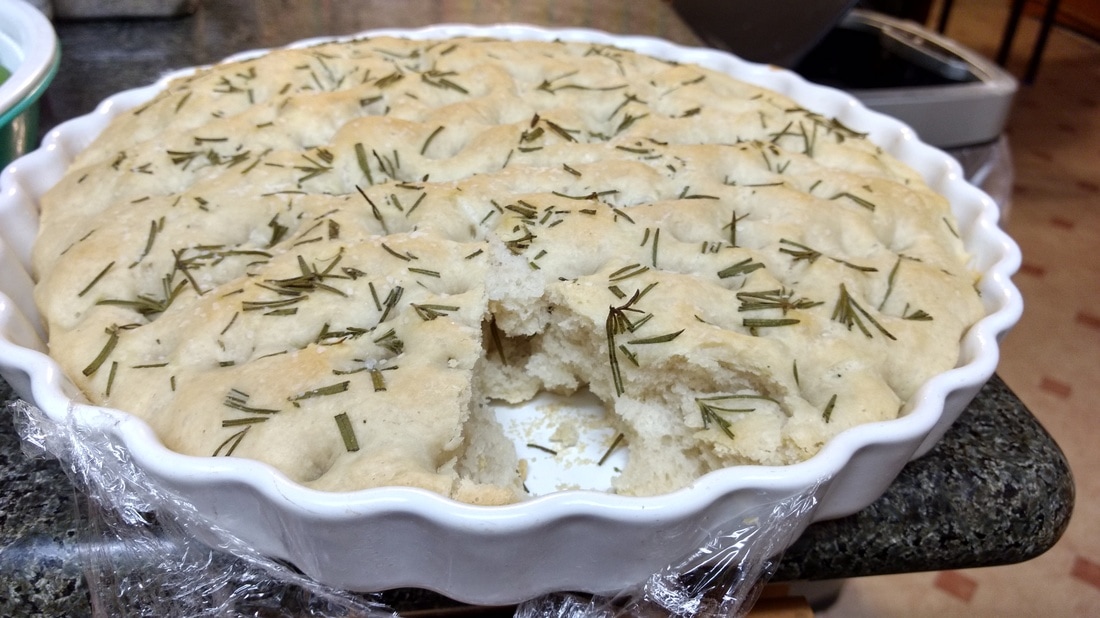
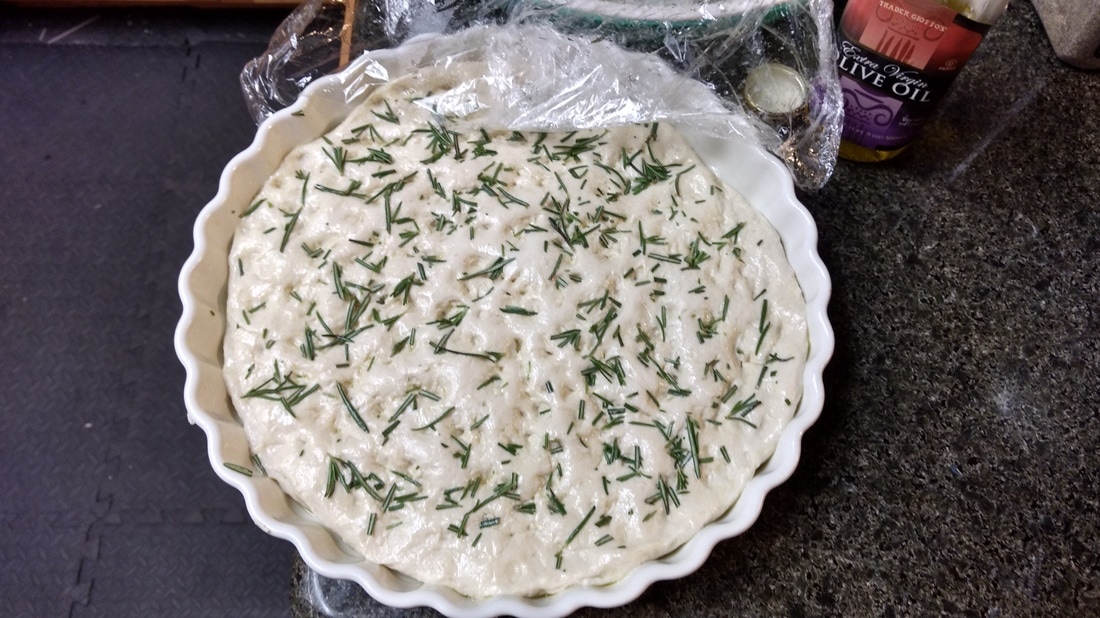
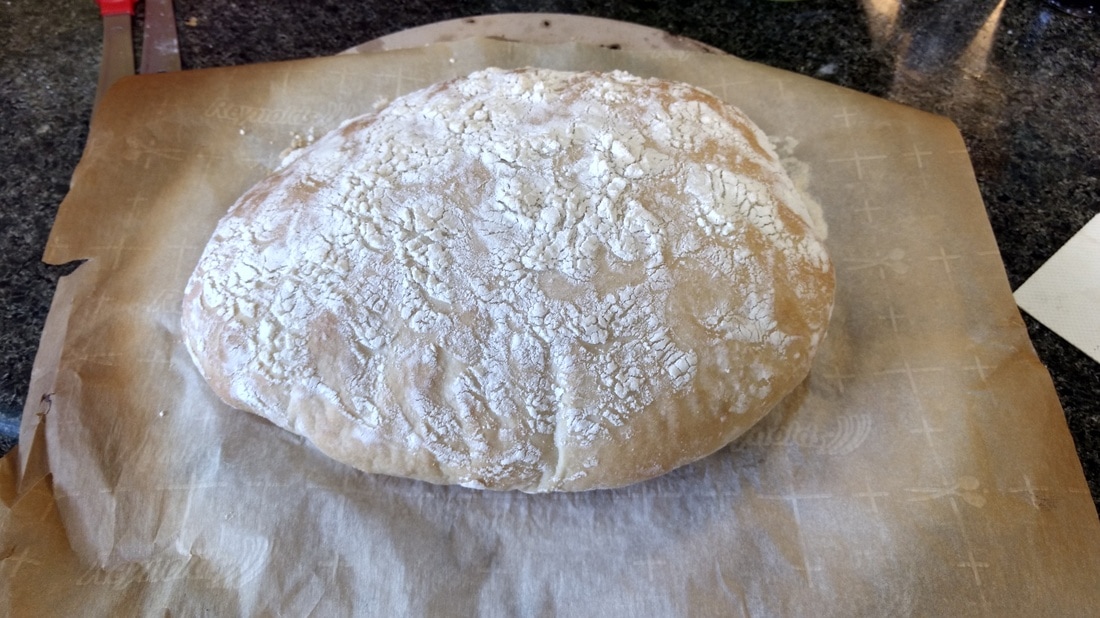
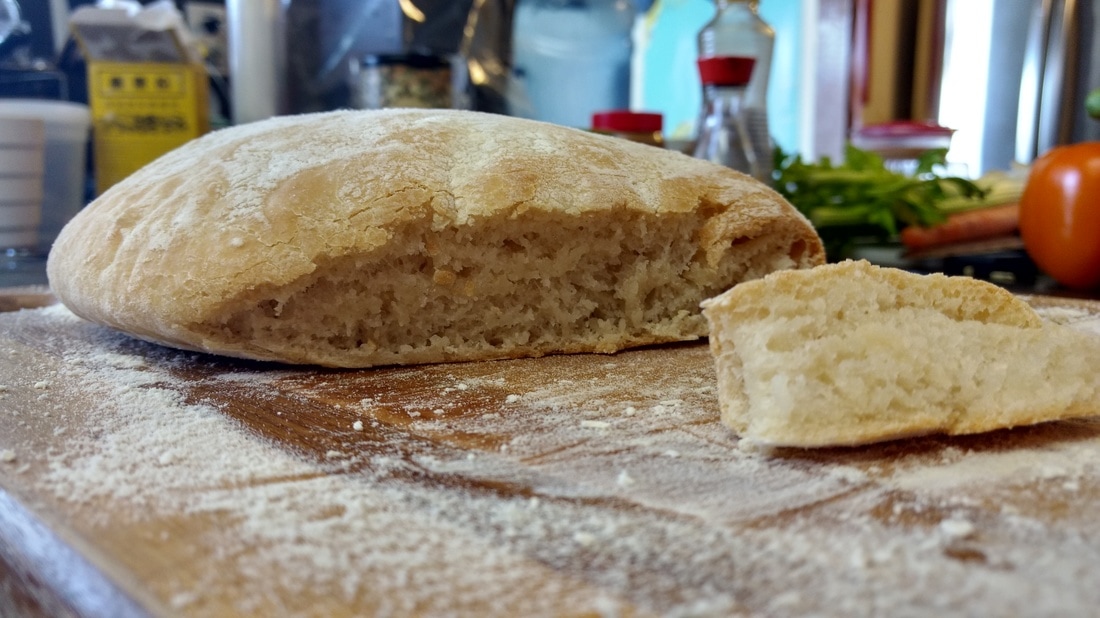
I'm a lot happier today because the new focaccia recipe turned out excellently! As did the ciabatta, even though I gave it an extra rising overnight. As soon as the timer went off for the oven, I could smell the yeasty, olive oil and rosemary smell wafting through the kitchen. I couldn't wait to try it, so I sliced into the hot bread and took a bite! Yum! I could slice this in half and use it for sandwich bread. I had sprinkled kosher salt on the top before baking so it had a nice saltiness to it too. It's a unique flavor just so that after you eat one bite, you want to take another and another. The bread is moist, I think from the olive oil. I was visiting a friend at Stanford yesterday, and I saw tons of rosmary bushes everywhere. An idea came to mind --> steal some for my focaccia bread! Fresh rosemary tastes way better than dried rosemary in breads! Thank you Stanford :). A word on YEAST. Yet again, I realized the importance of activating active dry yeast in some warm water with sugar, before using it in dough. Interestingly though in this new recipe I'm trying to do for Japanese sweet red bean bread, it said to mix yeast, flour, egg, water, and butter before letting the yeast rise. Interesting. We shall see how those turn out tonight, and see if the yeast will be at fault. Hopefully not! Here is the finished Ciabatta! Also called "Italian Slipper". It was fluffy and moist, with a nice crispiness on the outside, and lots of holes on the inside :). Honestly tasted quite similar to the focaccia but without the olive oily and rosemary taste. Probably delicious warm with some butter and jam spread on it :). Success!
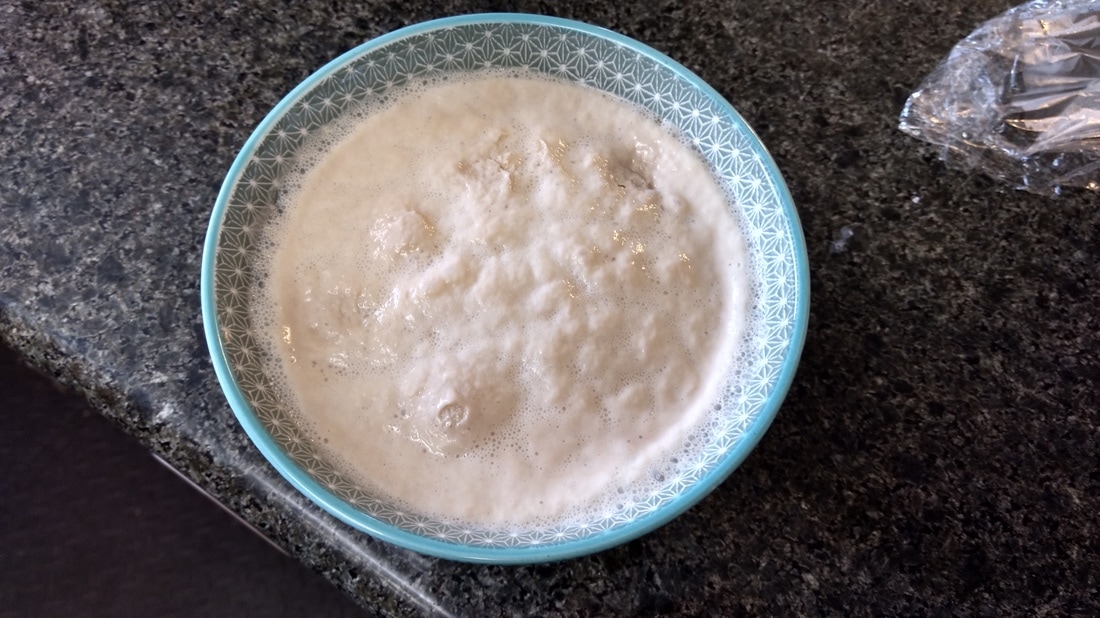
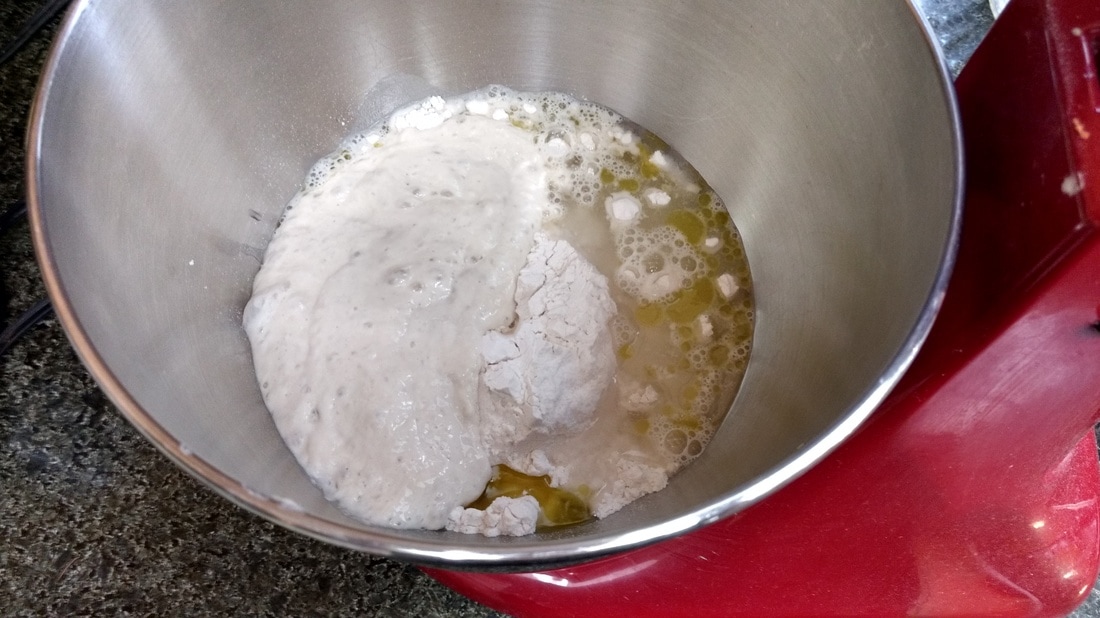
I started the Ciabatta today! Actually, I started it last night. Apparently you need to make a fermented "sponge" by mixing in yeast and warm water with some flour, and letting it stand at room temperature for 12 hours. So I quickly mixed up the starter and left it on the counter overnight. In the morning it looked spongy and slimy with lots of holes. Interesting. Perhaps it's similar to starting a sourdough bread. I mixed the spongy starter with more flour and water and some olive oil, and more yeast. It's been sunny lately so leaving the dough covered with plastic wrap outside in the backyard makes for a nice, warm proofing environment. I'm going to have to finish the Ciabatta later today because I have some events I'm attending, so I stuck it in the fridge after letting it rise for 1.5 hours in the warm sun. I will have to let it rise 1.5 hours again, and then I can finally bake it! So it'll probably end up happening this evening after I come back from visiting a friend. But man! I didn't realize how long these "fancy" breads take to proof and then rise and then rise again....there's so much waiting time in between! I truly hope this ciabatta turns out better than my focaccia yesterday.
I decided to screw the cook book on both the focaccia and ciabatta recipes. Why go for cookbook with intricate and time-consuming instructions when there are videos and recipes online that are faster and yield more accurate results? I'm using a new focaccia recipe from Food Network, and a Ciabatta recipe from food.com because it has super good reviews and I just somehow trust food.com more than allrecipes because their recipes have been more fool-proof in the past. Also, I learned something about YEAST! Shout out to my chef friend Michael for mentioning it, but he mentioned how I might have killed my yeast yesterday in my focaccia by making the water too hot. The focaccia recipe called for water that is "hot to the touch" and between 105-115 degrees. I personally think that was a faulty way to instruct people to help activate their yeast. It's too hot, and risky! Especially if yeast tends to deactivate from being too hot when it is around 120 degrees. Also, I learned the difference between active dry yeast, instant yeast, pizza yeast, etc... with this cool youtube video. Active yeast needs to be hydrated and dissolved in warm water (not too warm!) with a Iittle sugar in order for it to be activated. Instant yeast is ground to a smaller powder and thus does not need this extra step. Because instant yeast is so finely ground, it activates almost immediately. think all of this is very useful to know in making bread that turns out great every time. Pictures and more reflections on my ciabatta will be coming to you later today! Have a lovely day! Best, Kaori |
Kaori's Kitchen
 RSS Feed
